
For today’s experiment, we’re going to head outside and learn how leaves and trees breathe!
All you’ll need for this experiment is a bowl of water and a leaf!
We’re going to create an environment where we can actually SEE photosynthesis taking place — the oxygen/carbon dioxide process of plants!
Even though we chose to use a tree leaf, you can also conduct this experiment using a leaf from a plant — the important step is including an ACTIVE leaf (meaning one that you remove from the tree or plant).
Step 1: Fill a large bowl with lukewarm water
You can use a glass or plastic bowl (personally, I like glass bowls better as you’ll be able to see the experiment from all angles however you will probably have the bowl outside so you may want to use plastic).
Step 2: Head outside and find a large leaf
You’ll want to remove a leaf from a tree or plant and not just pick one up off the ground as we want an ‘active’ leaf for the project. I know — if you’re like me, you probably tell kids not to pull the leaves off trees (which is a good rule to follow) but for this experiment, carefully remove a leaf. If you’re doing this with a group, have kids pair up if you’d like so not as many leaves are needed.
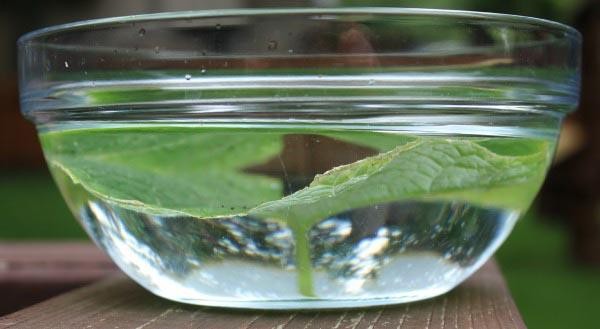
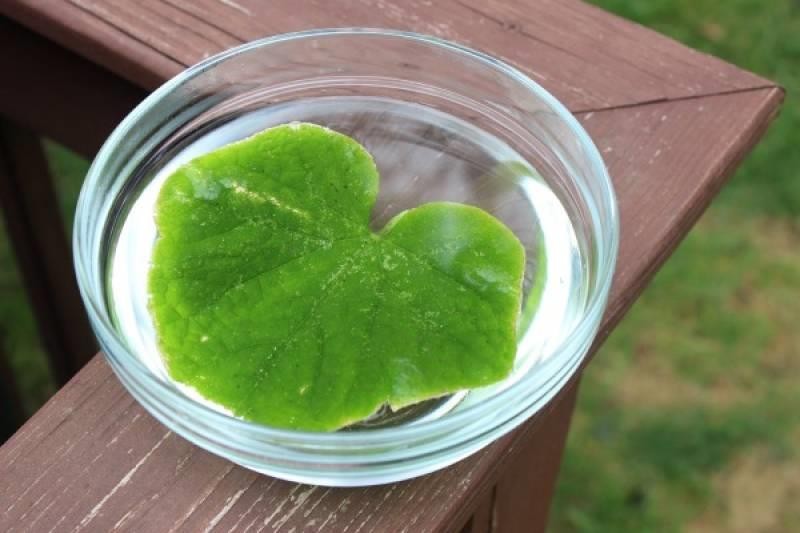
Step 3: Place the leaf in the bowl of water and put a small rock on top of it so it is FULLY submerged under the water
You should do this right away. Don’t let the leaf sit around too long before submerging it in water. Then place the bowl in a sunny spot – outside in direct sunlight is best.
As you can see, this is really the benefit of using a glass bowl — you can be sure your entire leaf is underwater. If you have a place inside that’s super sunny, you can also try keeping the bowl there.
Step 4: WAIT!
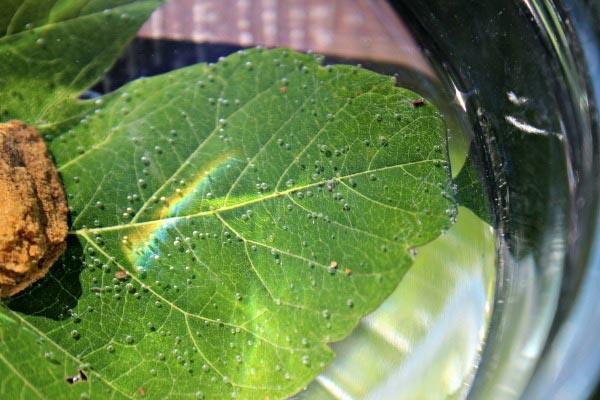
Step 5: Take a peek a few hours later
What you should be seeing is small bubbles that form around the leaf and the edges of the bowl. These are easy to see with the naked eye but having a large magnifying glass on hand always makes an experiment feel more scienc-y 😉